The Big Sur Half Marathon in Monterey Bay is just two days away. We’re driving up to Monterey Bay tomorrow morning. So tonight I am eating a big plate of pasta and trying to relax by knitting a few more mitered squares.

The Big Sur Half Marathon in Monterey Bay is just two days away. We’re driving up to Monterey Bay tomorrow morning. So tonight I am eating a big plate of pasta and trying to relax by knitting a few more mitered squares.
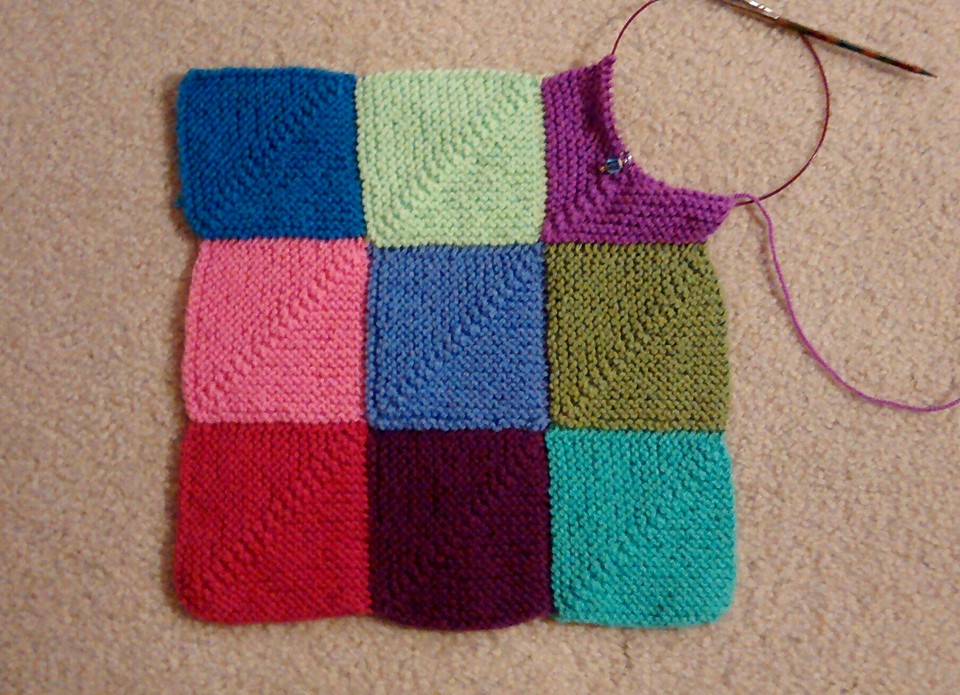
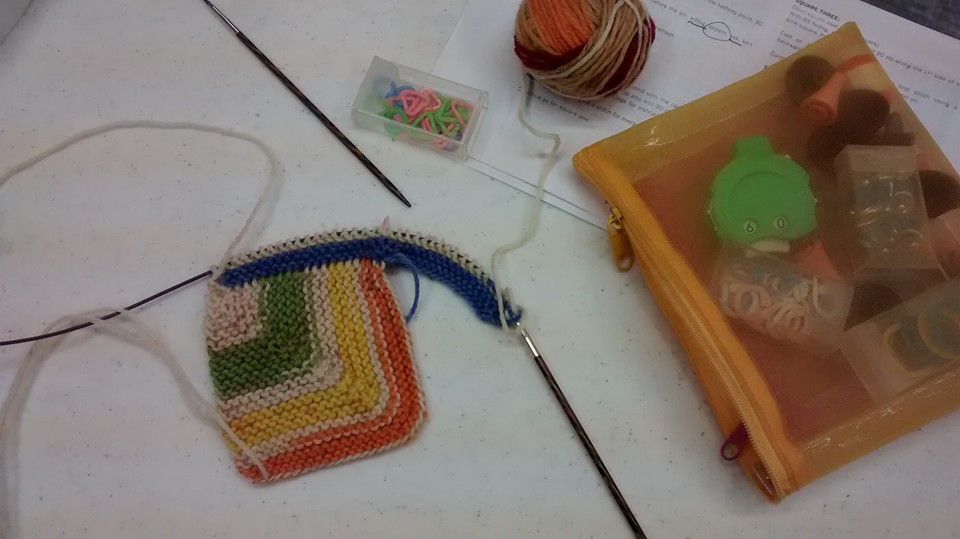
Another bummer about the time change: When I get home from work, it’s already dark and I can’t take any good outdoor photos of my works in progress. I took this photo in the kitchen.
The patchwork squares are coming along nicely, though.
Remember the tangled mess from my memory blanket class?
I decided to set that aside and start a proper blanket of mitered squares. I went into the yarn stash and saw that I had this bundle of yarn that I’d purchased some time ago to make the granny stripe blanket designed by Lucy of Attic 24.
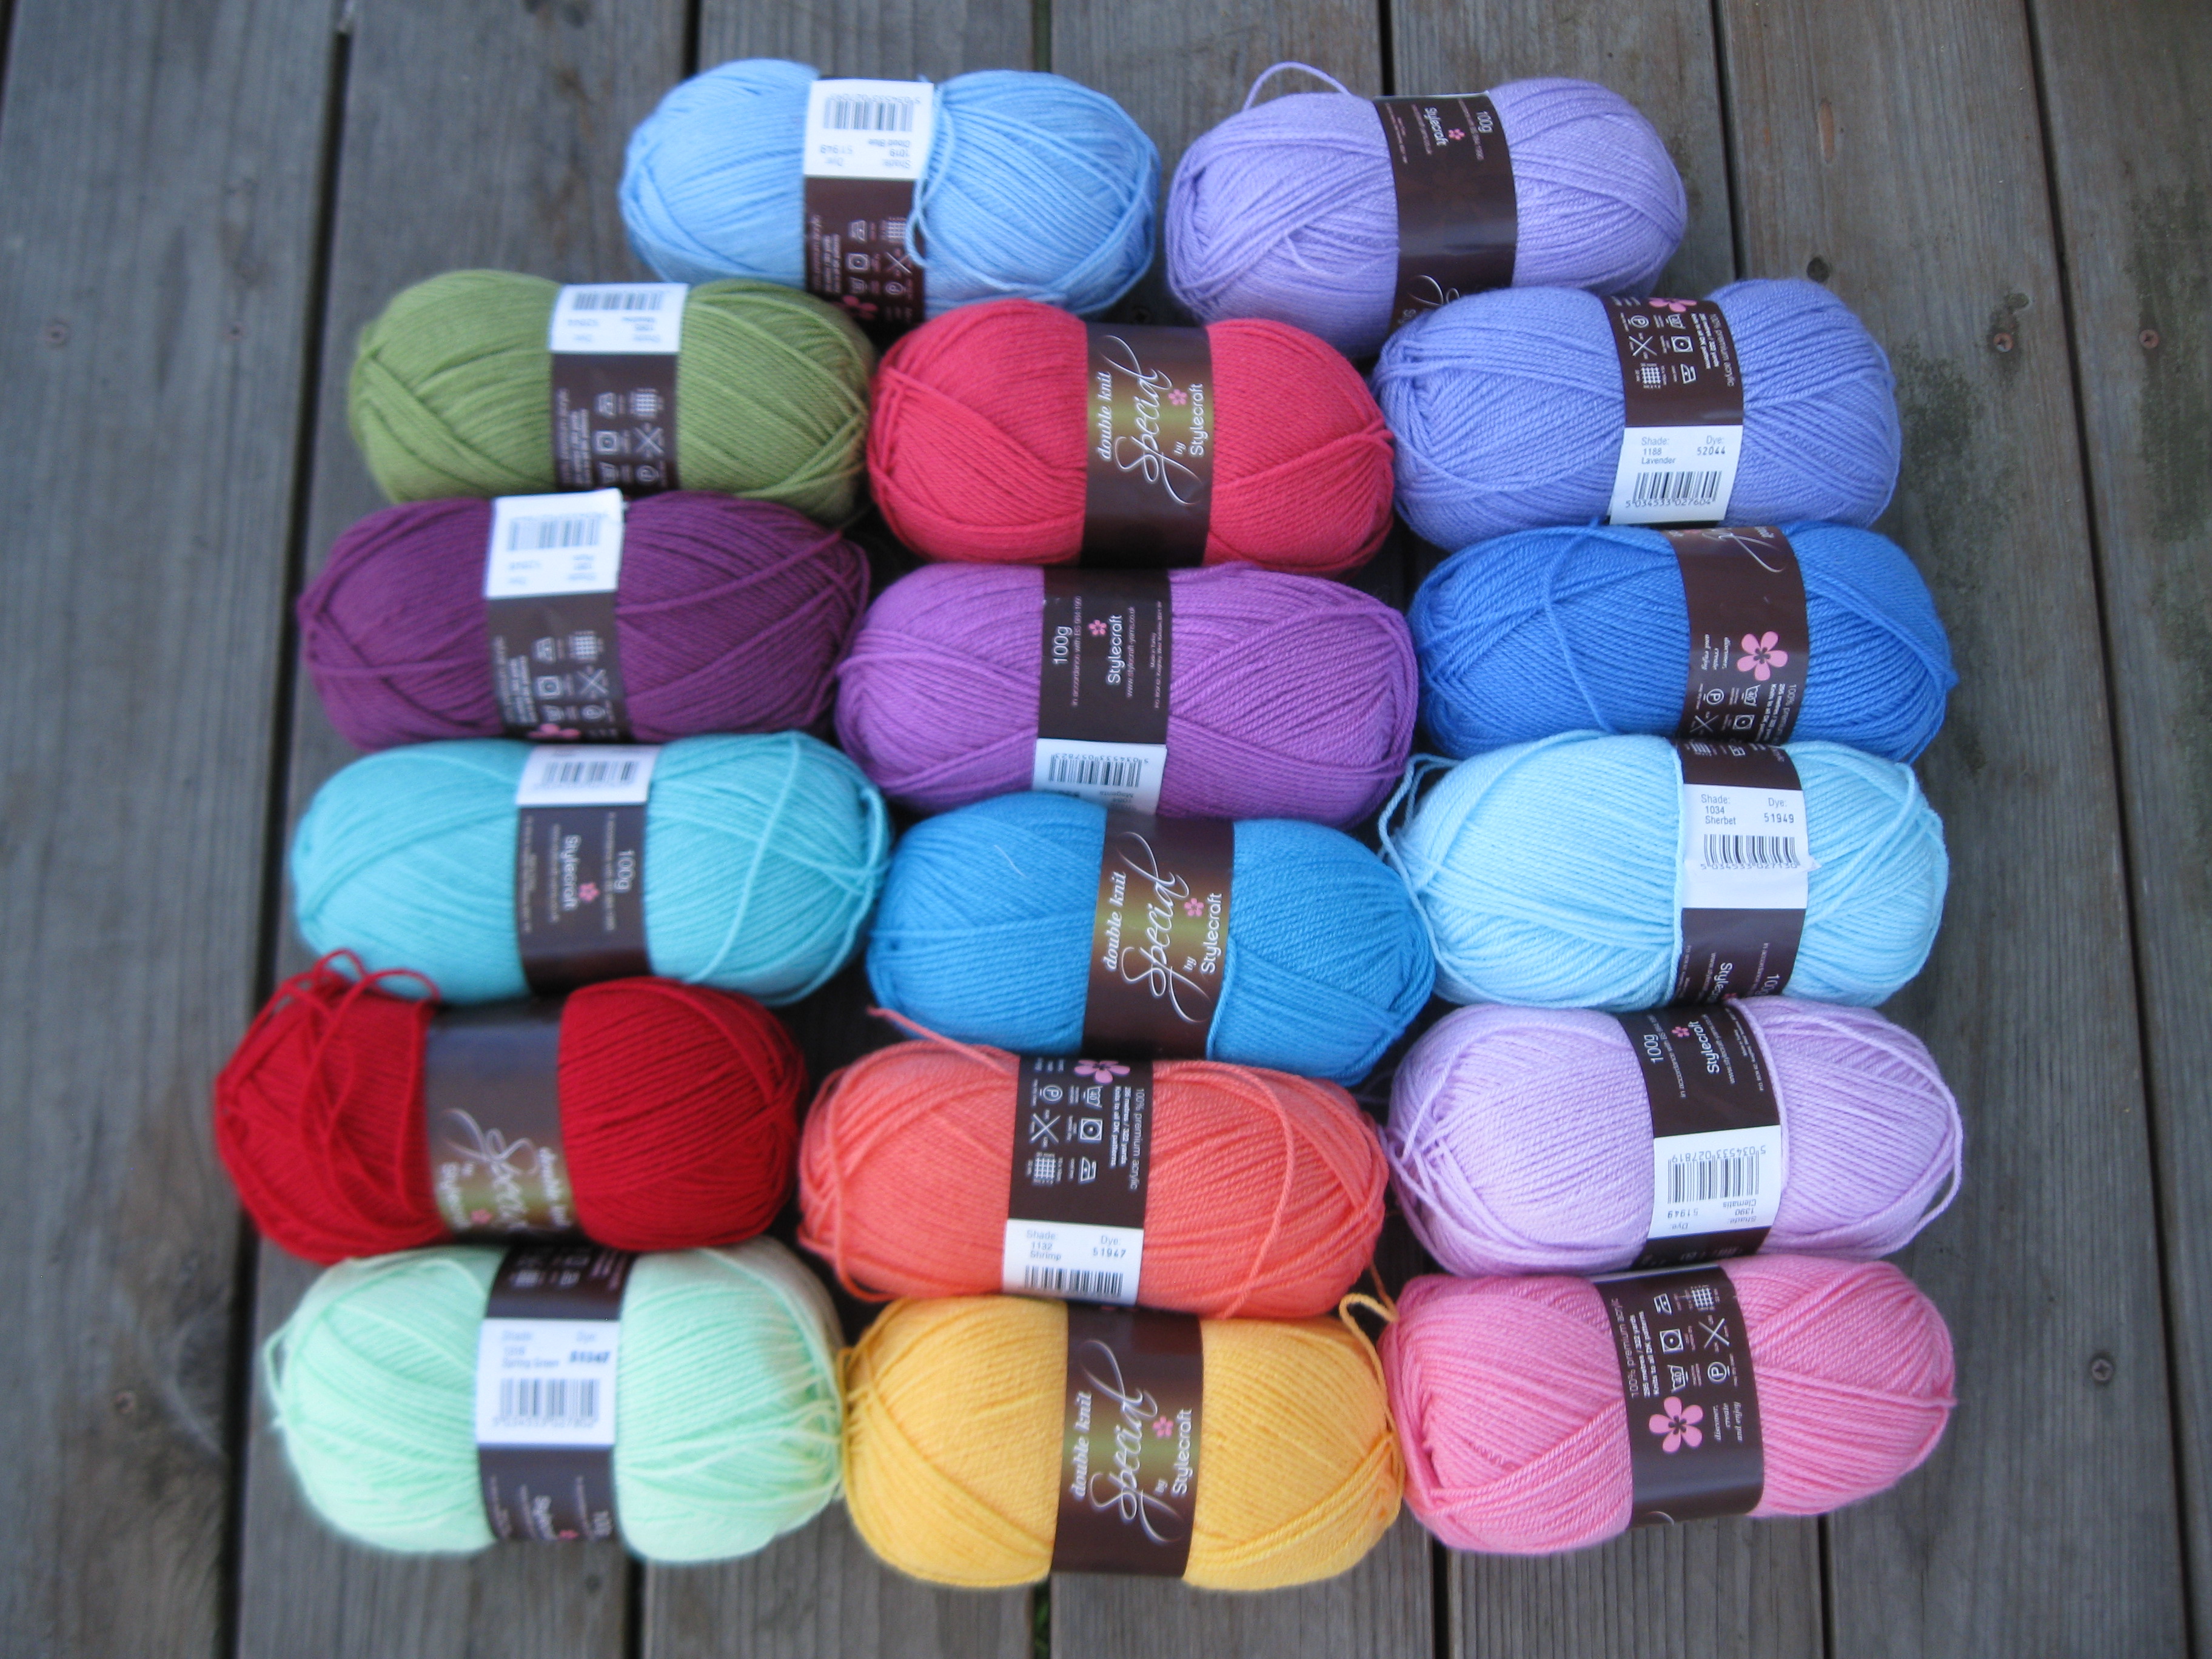
I thought, You know what? I’m going to use these to make a colorful knitted blanket of patchwork squares, instead.
So I got started.

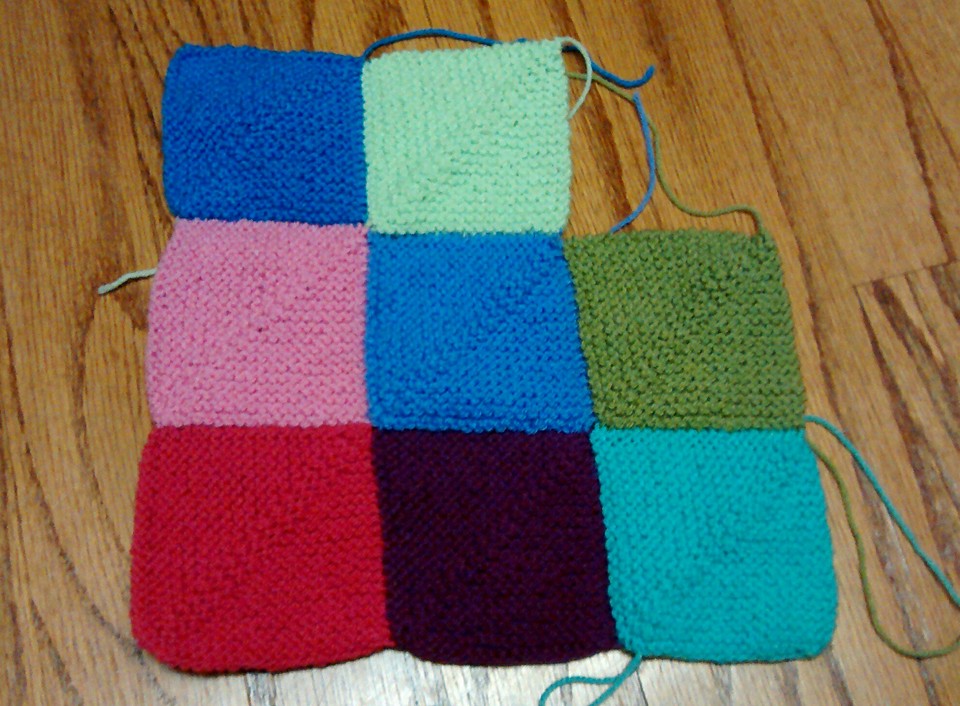
There are a few advantages to making a knitted afghan this way. Each square goes by fairly quickly and the process involves decreases, so you’re not just knitting back and forth lengthwise and getting bored. You can switch to a different color when you start a new square, so your eyes don’t get tired of looking at the same color yarn throughout the whole project.
There is one drawback that I can see, though.

There are a lot of loose ends to be woven in.

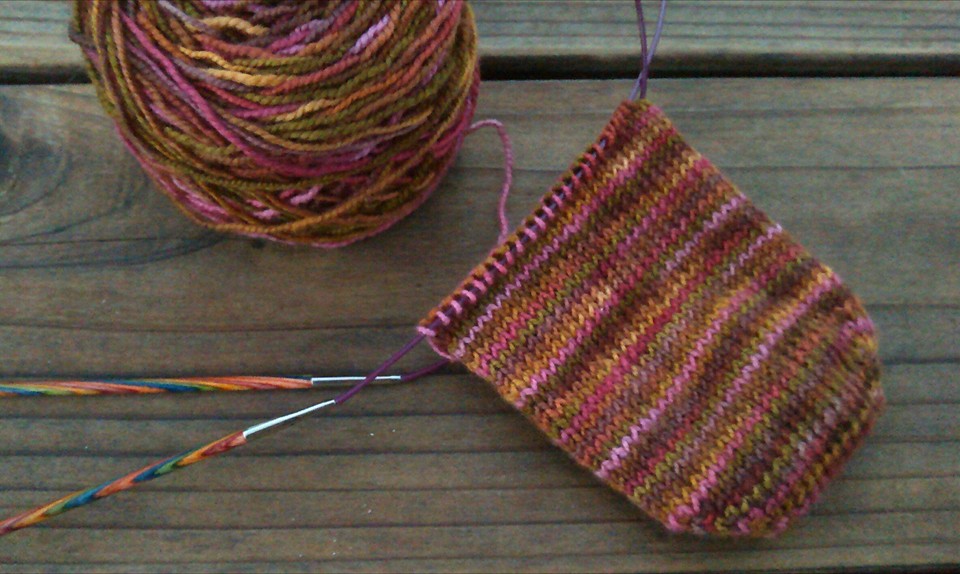
The heel is turned and I’m on the cuff.
Happy Friday!
Remember how I learned to make a mitered square in knitting class on Monday? And I shared a photo of my first completed square?
Well, I thought I would work on the second square that I’d joined to the first one. I got my knitting bag that I brought to class, and I dumped out the contents, which included several small balls of scrap sock yarn. And discovered this.
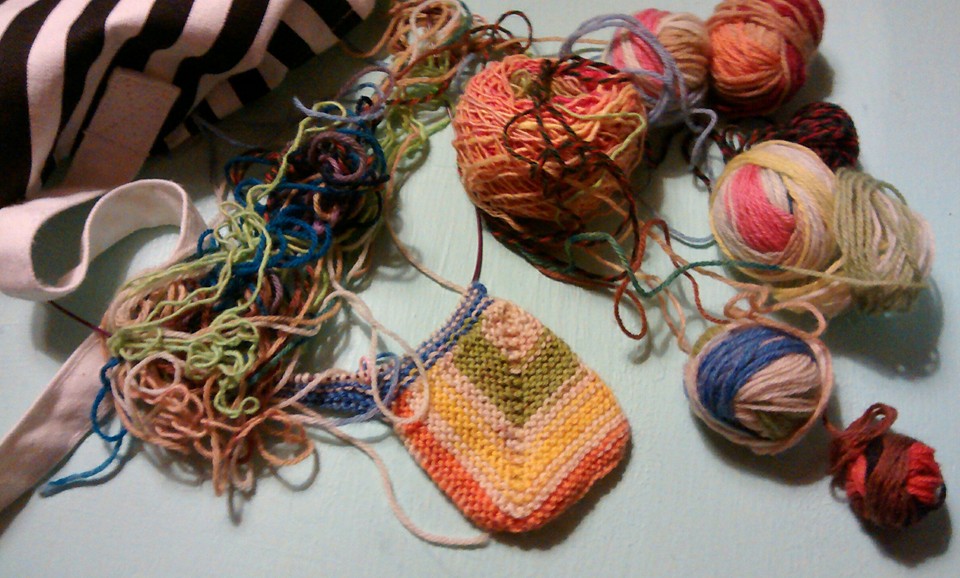
Some people might have the patience to unravel this mess, but I don’t have that patience. Life is too short. I’m getting the scissors.
This evening my good friend Pat and I attended a knitting class to learn how to make a modular blanket out of mitered squares.
Here is my first square that I finished in class:

Here is the instructor’s sample:

As you can see, it’s a great way to use up scrap yarn. Also, the work in progress resembles a patchwork quilt, and I do love patchwork quilts.
I am already thinking of the design possibilities and feeling very excited about this new addition to my knitting repertoire.
I’ve had a couple of people ask me about using the Magic Loop method when knitting in the round, so I thought I’d share some photos in today’s blog post.

The Magic Loop
I was feeling too lazy to start a new sock and do a detailed, step-by-step tutorial, so for now I just took photos of my current Cabin Fever sock in progress.
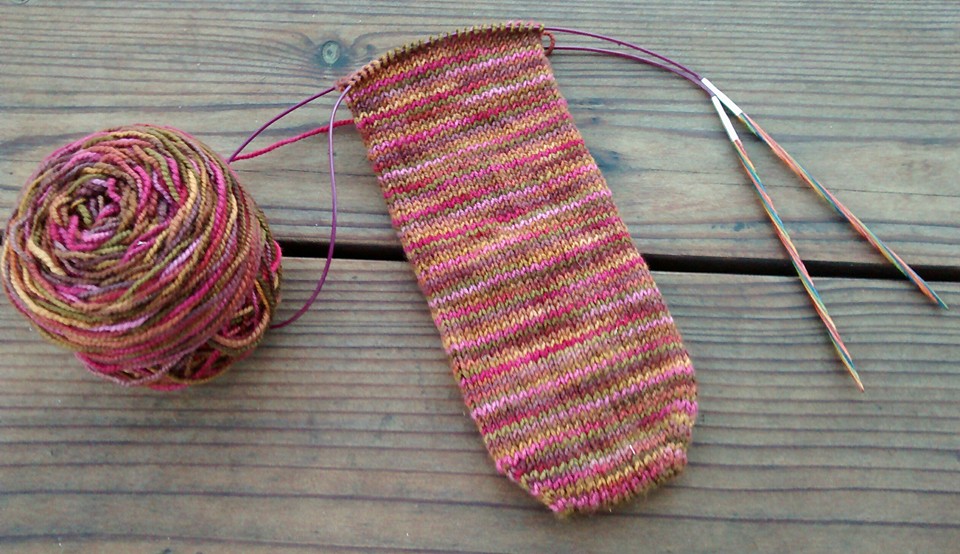
Anyway, when I’m knitting in the round with the Magic Loop method, I’ve got the stitches evenly divided so that there is a front and back:

In the above photo, the top row is knitted and the bottom row is waiting to be next.
To start knitting the next row, I just take the top needle and bring it around, like so.

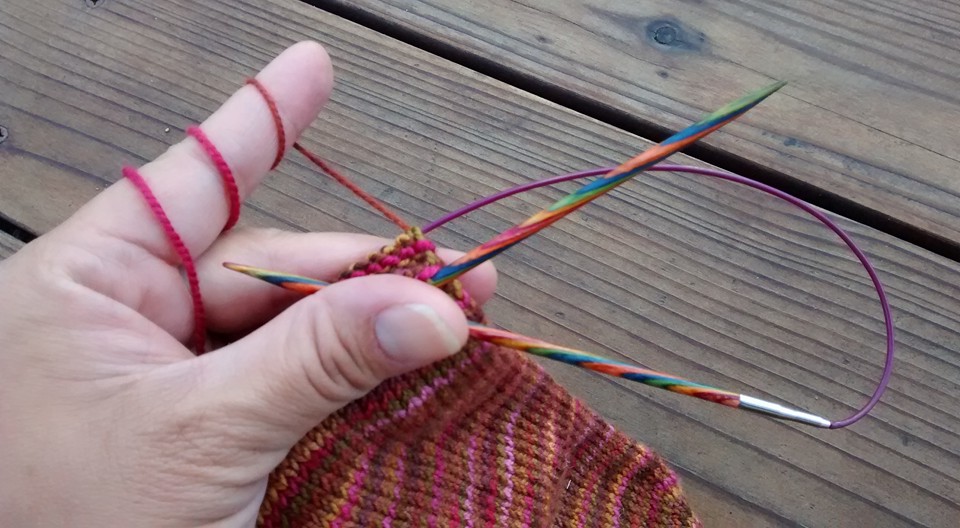
Without my fingers in the way, this is what the needles and yarn and sock and Magic Loop look like.

I knit using the Continental style. Keeping the yarn wrapped around my finger this way helps maintain even tension.

And I knit.

If you look at the top row (or back side of the sock) in the above photo, you will see that the cord of the circular needle takes the place of the double pointed needles that would be there if you were using DPNs. The front side of the sock is where I’m knitting.
I’ve been using the Magic Loop method for so long that I’m not sure how much these photos make sense to someone who’s never done it. I’m sure there are a lot of video tutorials to be found online, so hopefully my little post here could just serve as a supplement. Maybe later when I’m feeling more inspired, I’ll put together a more detailed photo tutorial for casting on and starting a new sock.
Today was a very long day at work and then at 6 PM I had my scheduled one hour of cross training, and then I had to make and eat dinner, and now at 8:45 PM, I am finally able to sit down and rest before my 9 PM bedtime. I’m always happy to have Monday off but, boy, when Tuesday rolls around, it sure is tough to get through the first ten-hour day of my work week.
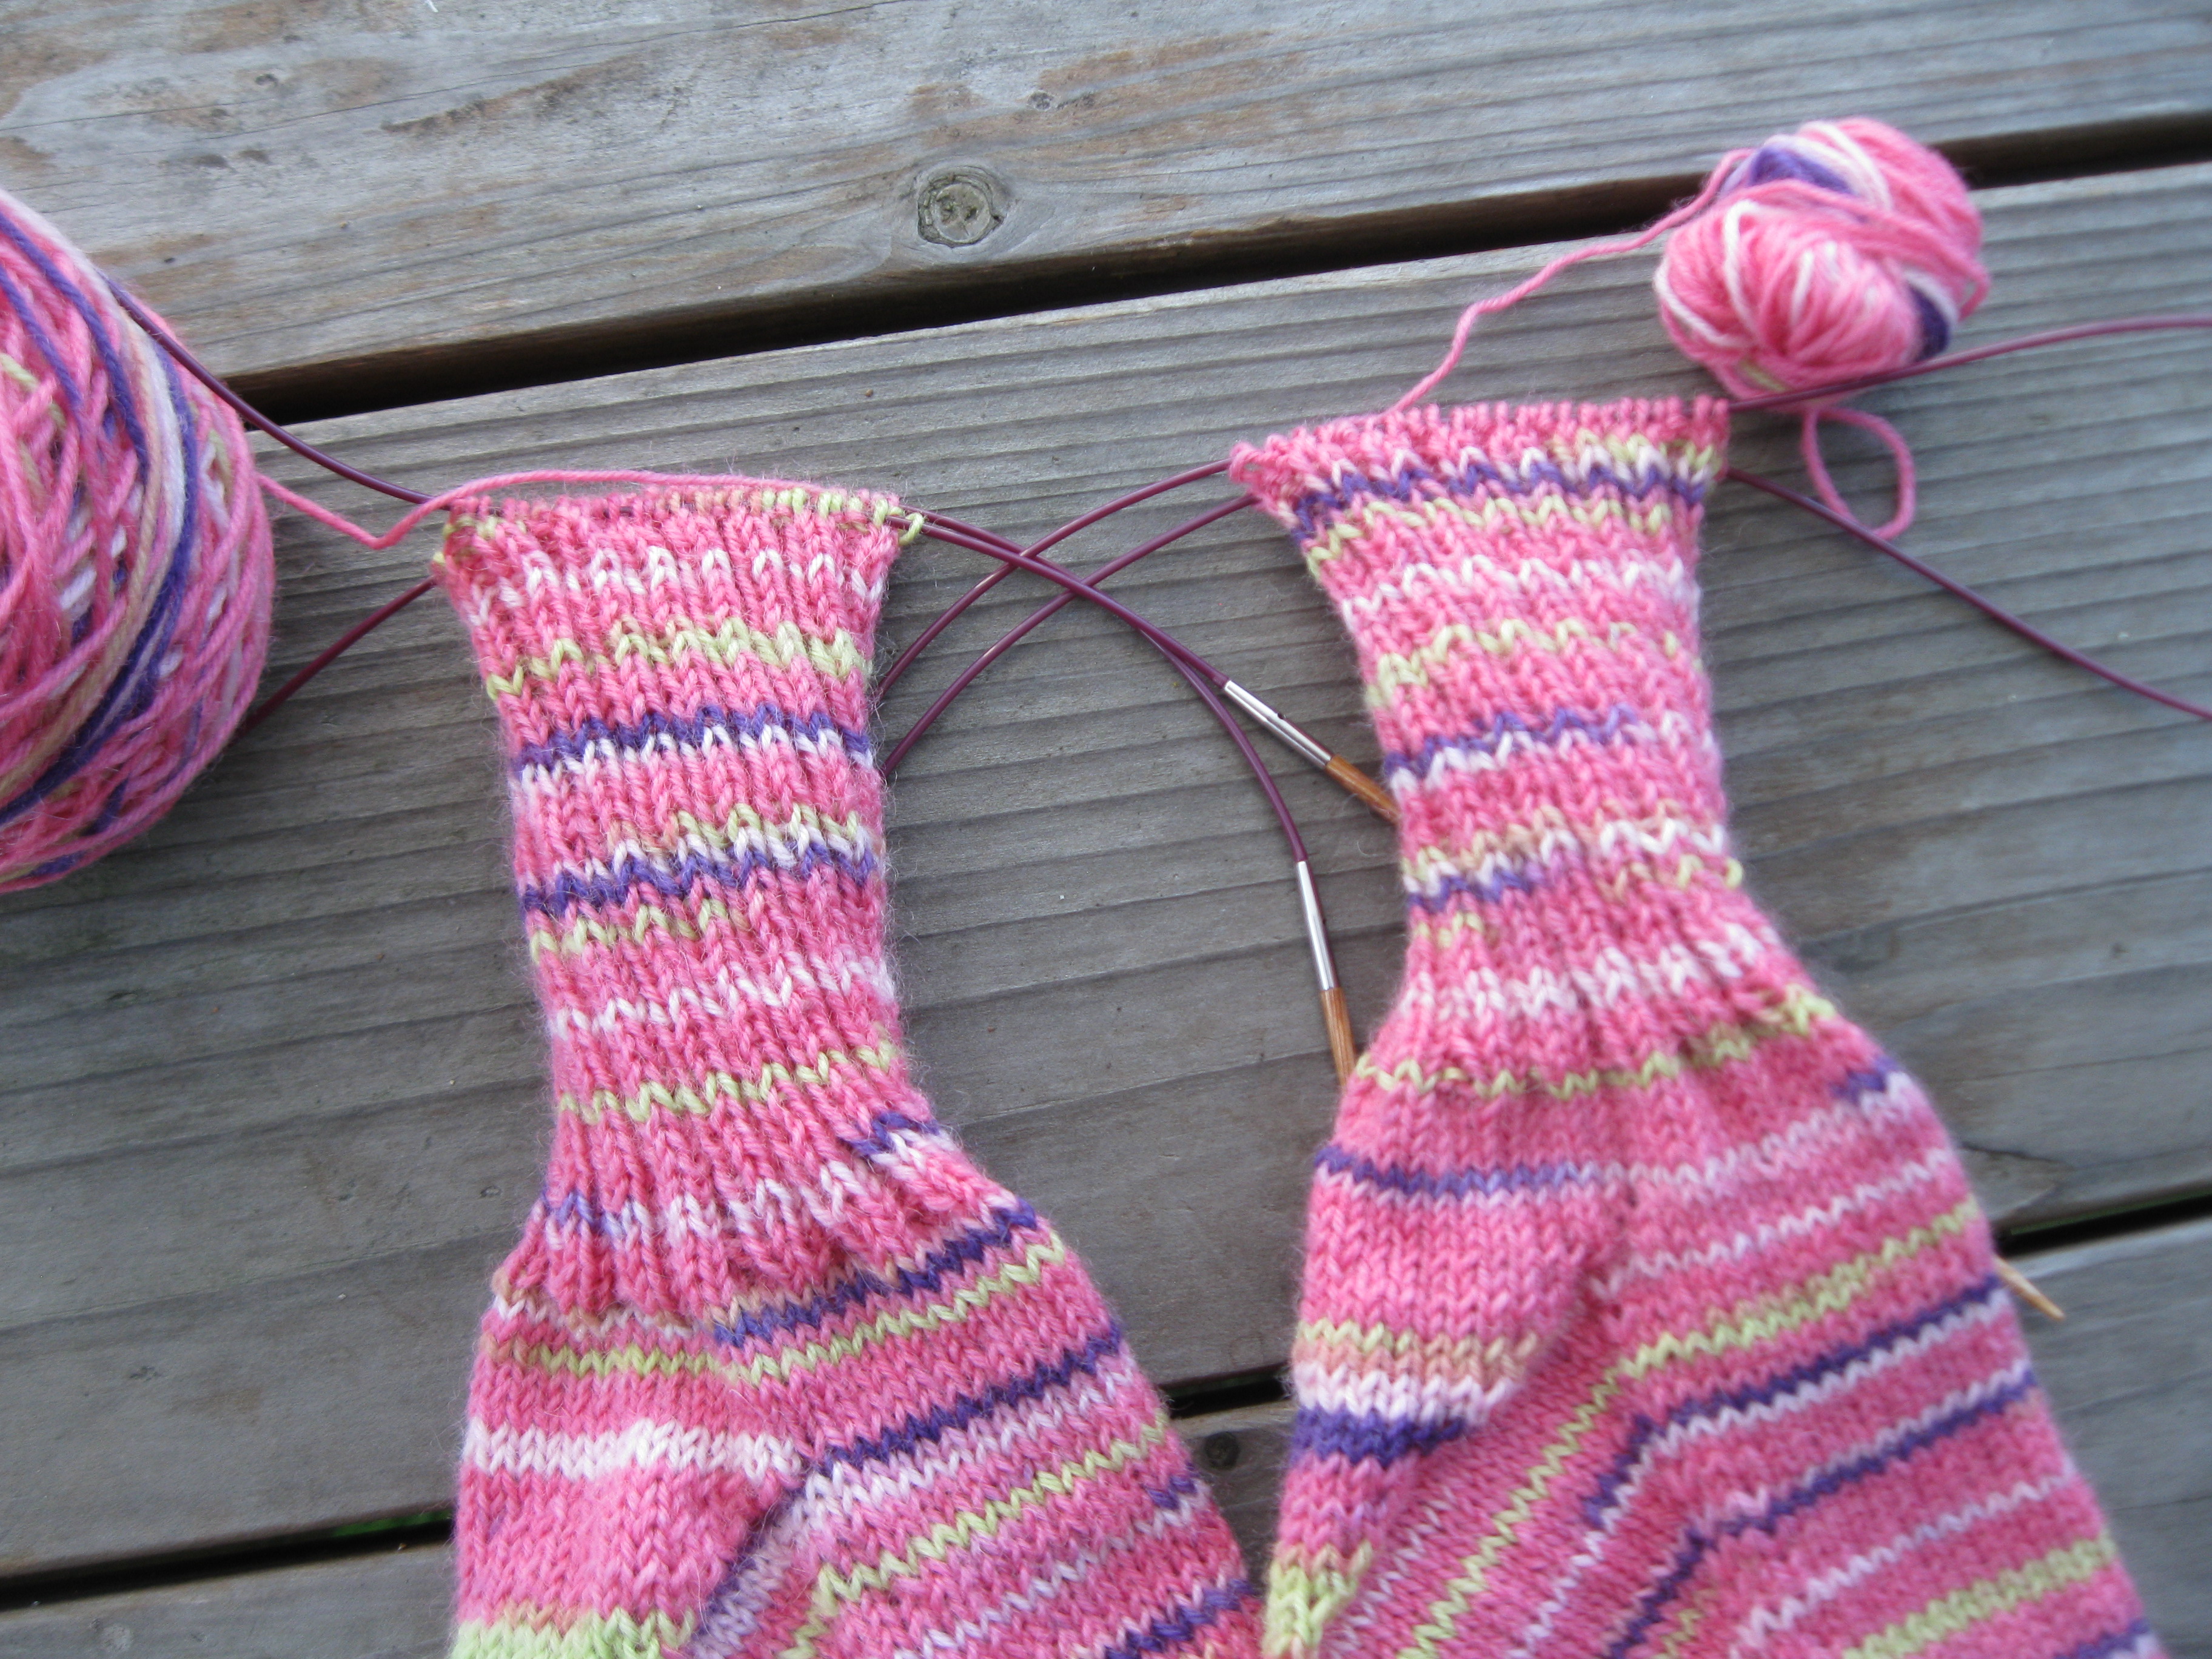
In the meantime, here’s my progress on the second Cabin Fever sock.
I am really looking forward to the weekend.
A fellow blogger asked about my sock pattern, so here it is.
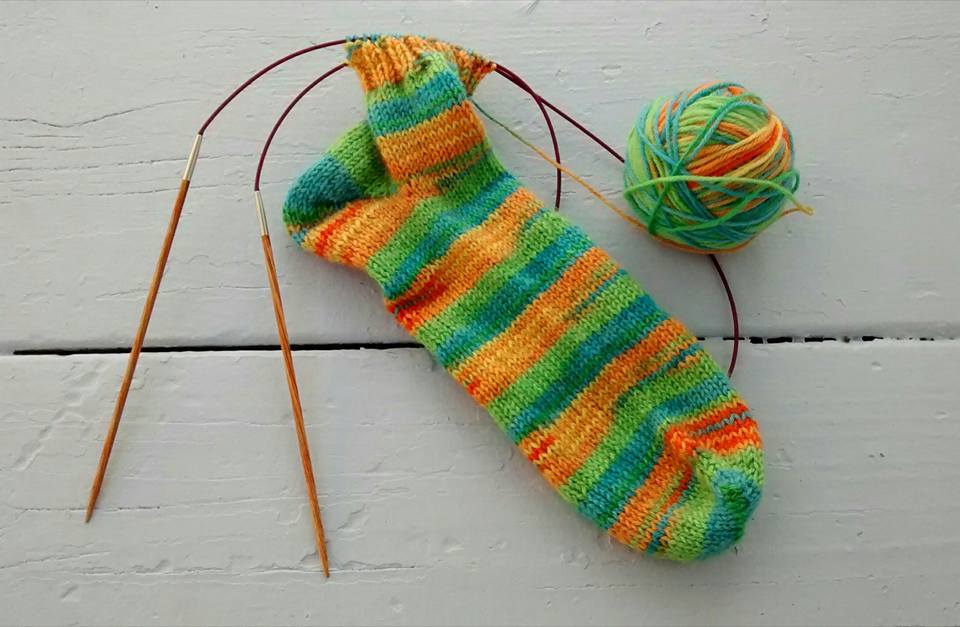
First of all, I use a long circular needle (approximately 32.5″ from tip to tip) and the Magic Loop Method to knit in the round. It also helps to have a cardboard template of the sock recipient’s foot.
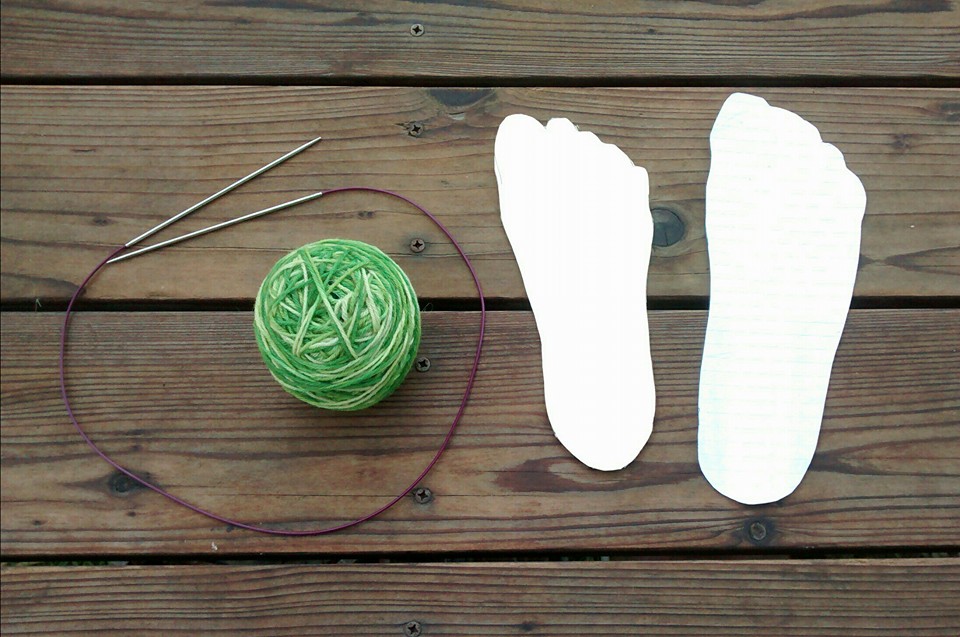
To begin, I use Judy’s Magic Cast-On and cast on 10, 12, or 14 stitches on each needle, depending on the thickness of the yarn and the size of the sock I want to make. I wear a US size 8.5 shoe, so I usually cast 12 stitches on each needle for my own foot. Next, I knit across the stitches on each needle once.
Round 2: Needle 1: K1, M1, knit until the last 2 stitches, M1, K1. Needle 2: K1, M1, knit until the last 2 stitches, M1, K1.
Round 3: Knit across both needles without increasing.

Repeat Round 2 and 3 until you have a total of 24, 28, 32, or 36 stitches on each needle, depending on how wide you want the sock to be and keeping in mind how much the yarn will stretch. If the sock is for my mom’s kid-size feet, I stop at 24 stitches on each needle. If the sock is for me, I might stop at 24 or 28. Again, it really depends on how wide I want the sock to be.
Once I’ve determined that I’ve got enough stitches, I stop increasing and start knitting in the round to work the foot of the sock.

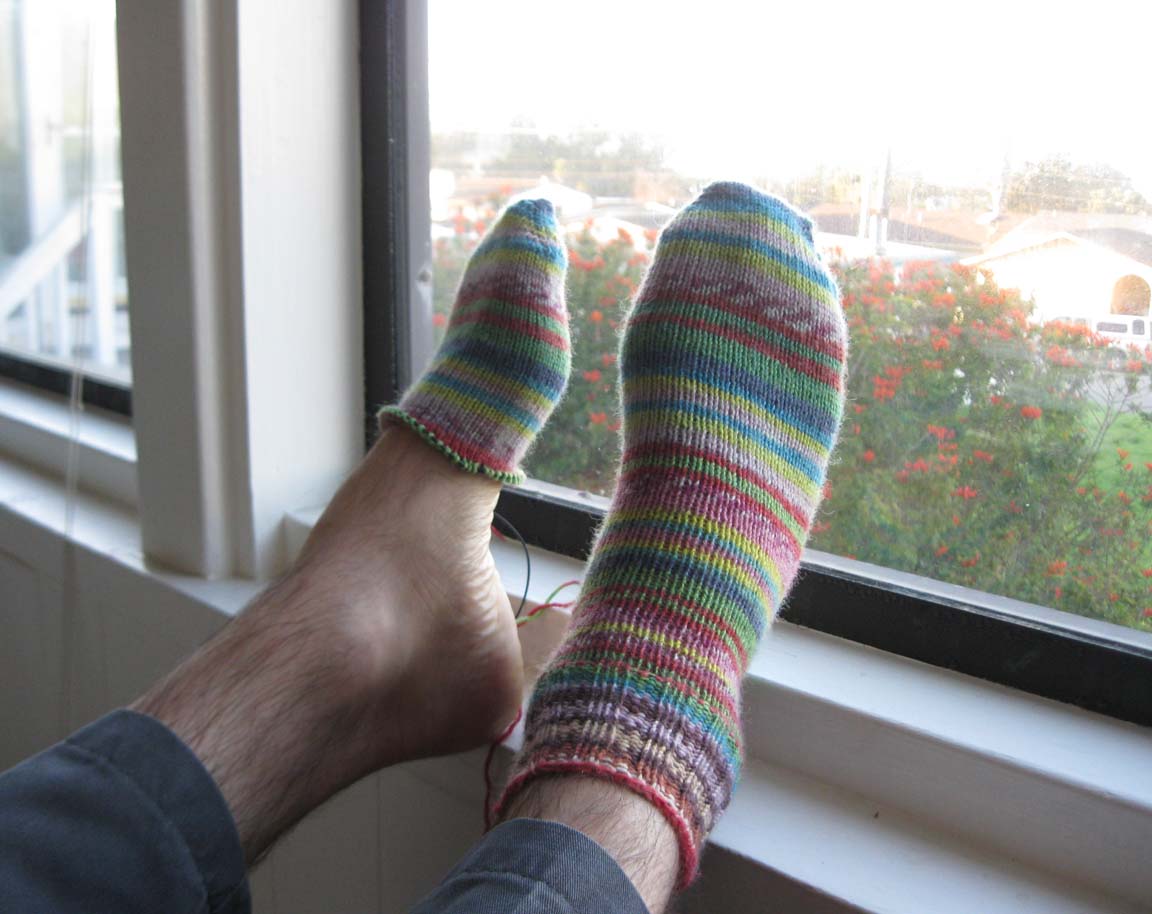
You can have the recipient try it on for size.
Or you can use your cardboard template.
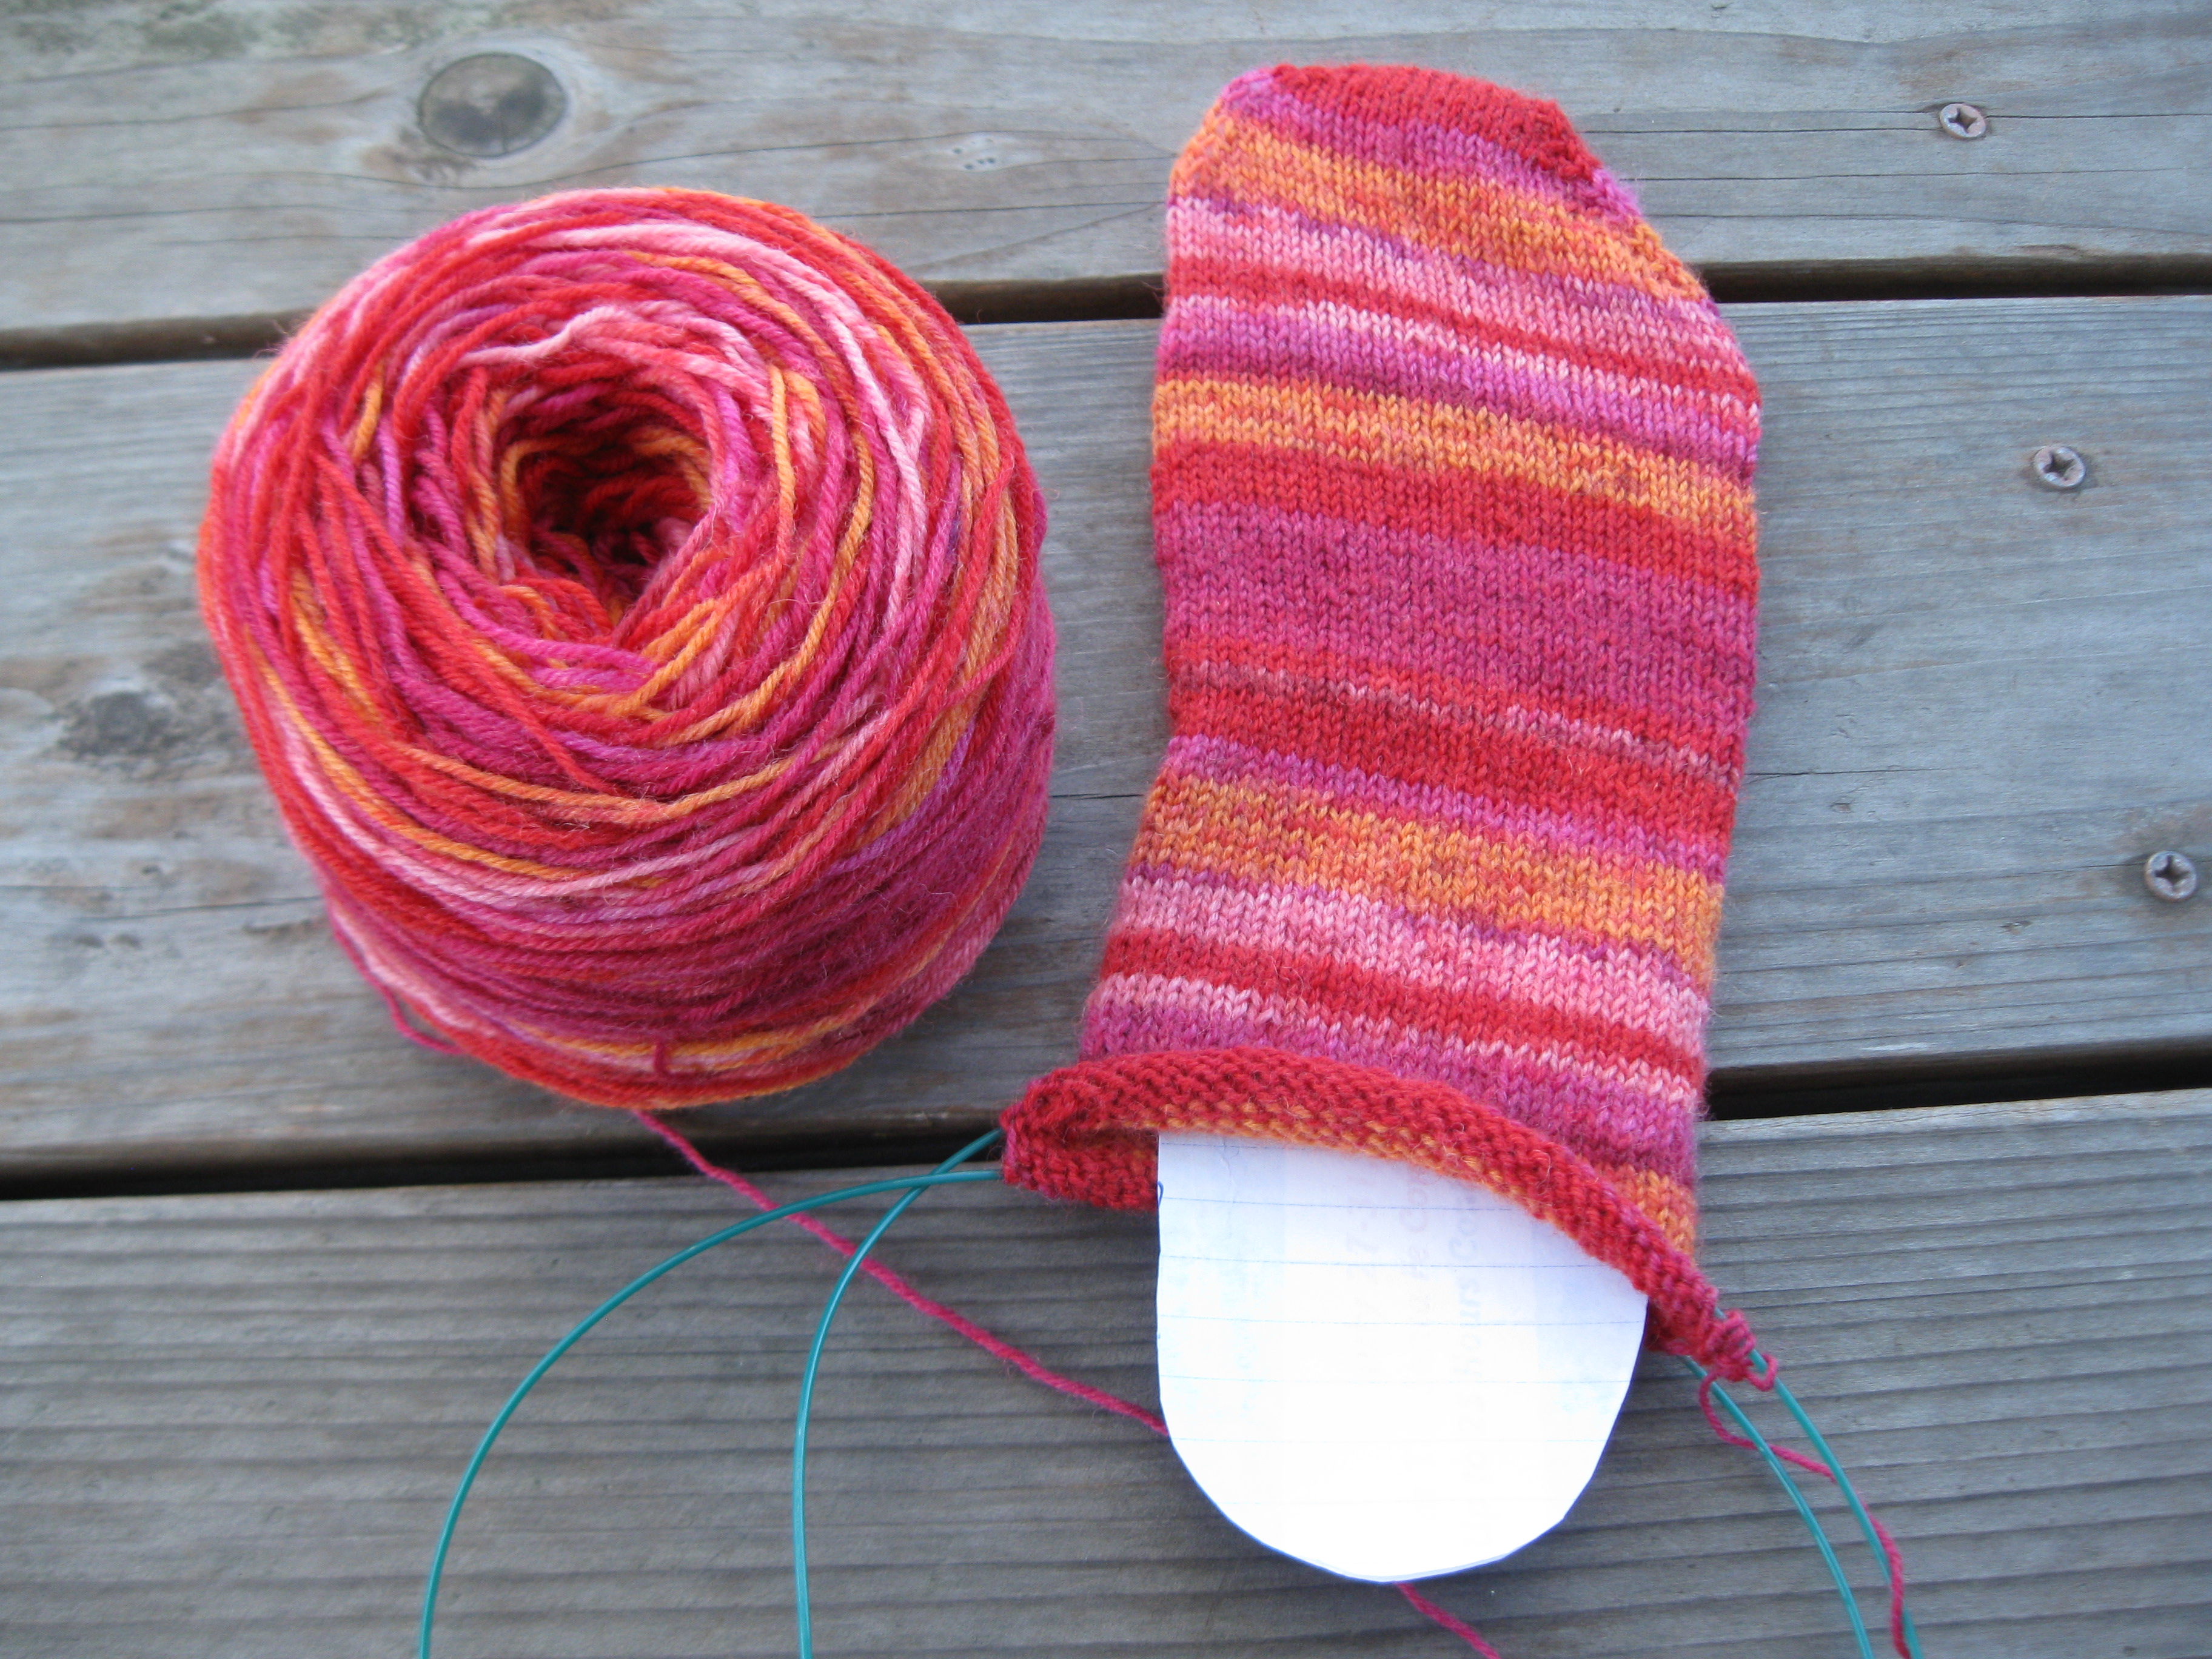
Now that I use the Fish Lips Kiss Heel, I just keep knitting until I get to the point where I want to start the heel. (You can find the pattern by searching for it online.)
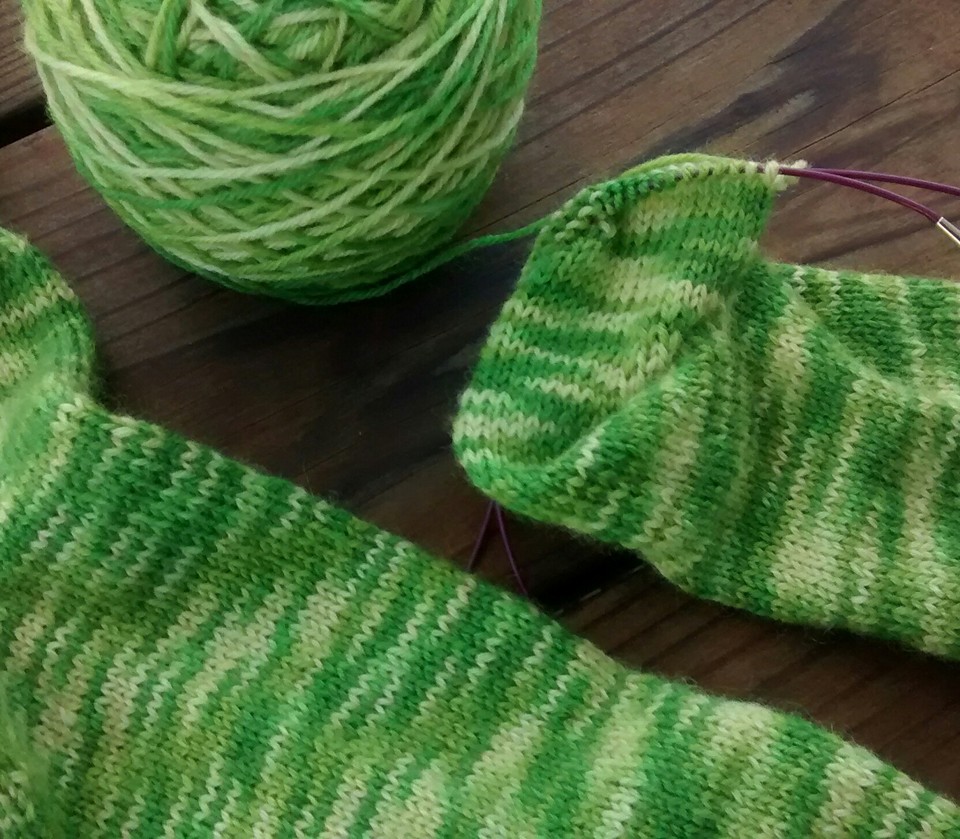
I follow the directions, finish the heel, and then start knitting the cuff.
Usually, I’ll knit 2, purl 2, and repeat for ribbing. I prefer my socks to be crew length, so I just keep knitting until I think it’s time to bind off.
And that’s it! Hopefully I’ve explained it fairly clearly. Let me know if I need to clarify anything.

P.S. Amazingly, all these photos are from different pairs of socks that I knit this year. I guess I need to go update my completed projects page.

