
I’ve had a couple of people ask me about using the Magic Loop method when knitting in the round, so I thought I’d share some photos in today’s blog post.

The Magic Loop
I was feeling too lazy to start a new sock and do a detailed, step-by-step tutorial, so for now I just took photos of my current Cabin Fever sock in progress.
Anyway, when I’m knitting in the round with the Magic Loop method, I’ve got the stitches evenly divided so that there is a front and back:

In the above photo, the top row is knitted and the bottom row is waiting to be next.
To start knitting the next row, I just take the top needle and bring it around, like so.

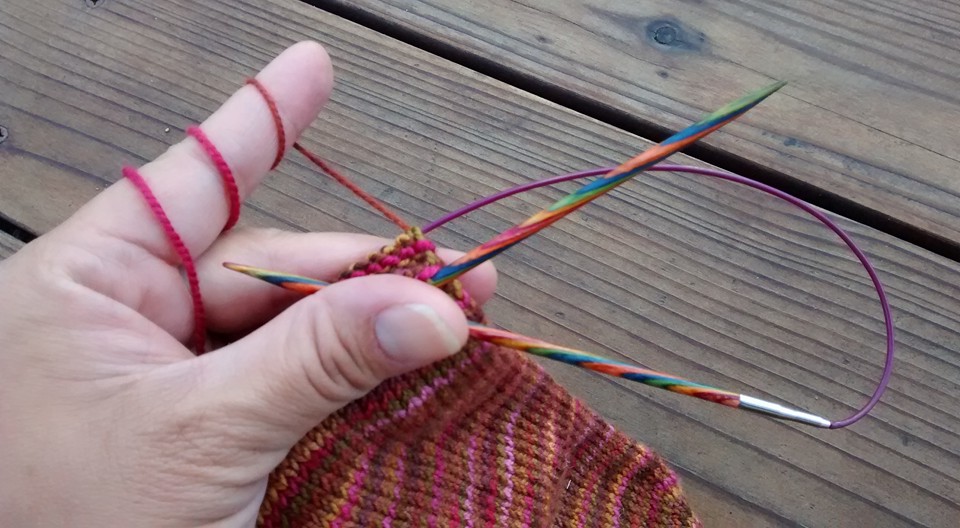
Without my fingers in the way, this is what the needles and yarn and sock and Magic Loop look like.

I knit using the Continental style. Keeping the yarn wrapped around my finger this way helps maintain even tension.

And I knit.

If you look at the top row (or back side of the sock) in the above photo, you will see that the cord of the circular needle takes the place of the double pointed needles that would be there if you were using DPNs. The front side of the sock is where I’m knitting.
I’ve been using the Magic Loop method for so long that I’m not sure how much these photos make sense to someone who’s never done it. I’m sure there are a lot of video tutorials to be found online, so hopefully my little post here could just serve as a supplement. Maybe later when I’m feeling more inspired, I’ll put together a more detailed photo tutorial for casting on and starting a new sock.
